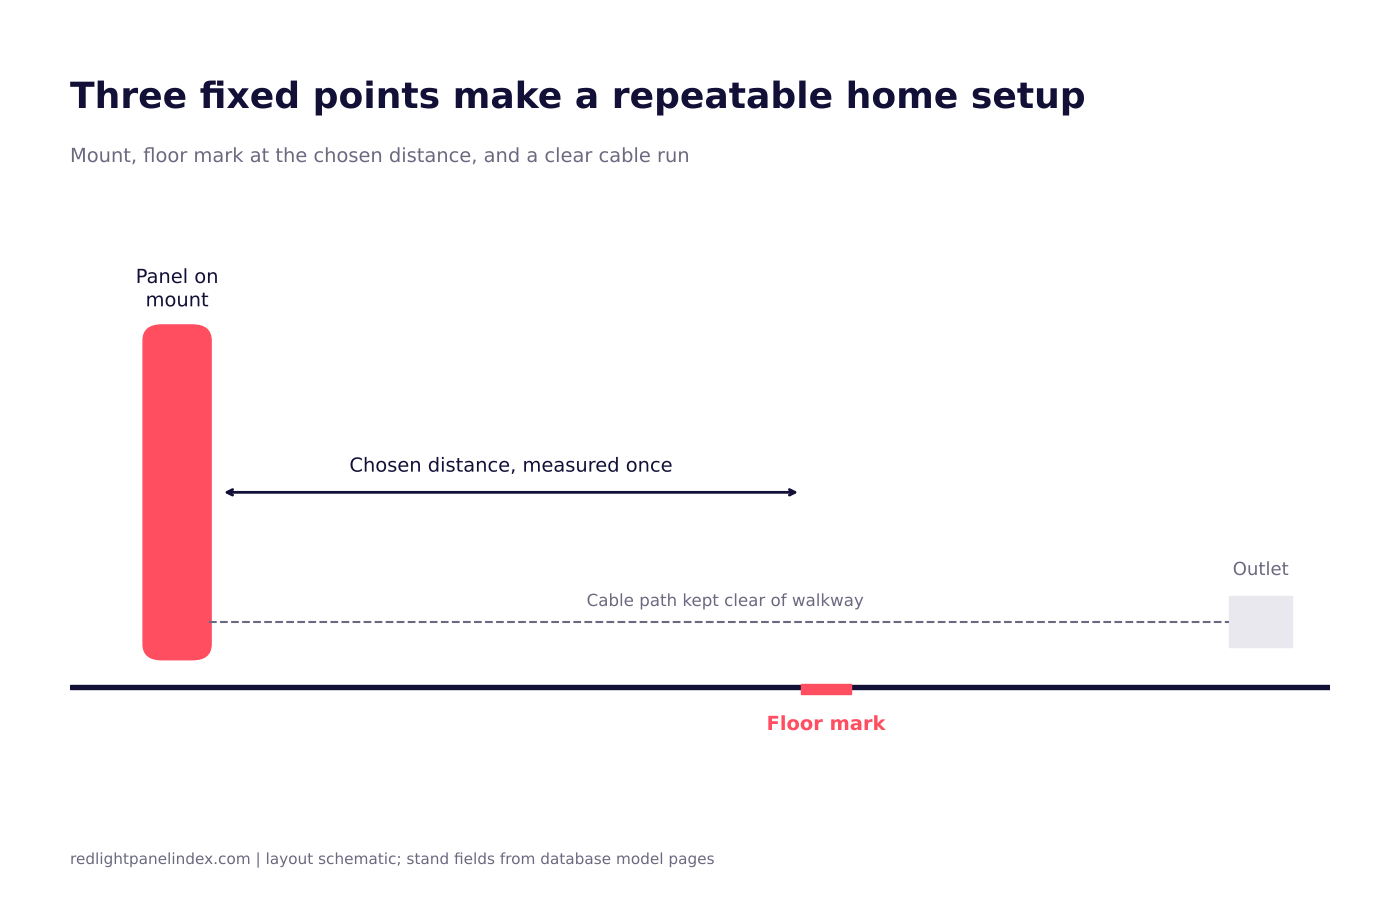
A good red light corner needs three things: a mount that holds the panel still, a fixed floor or chair mark at your chosen distance, and an outlet and cable run you can reach without moving the panel. Everything else is optional, and the mount is where models differ most, so check what is in the box before you buy.
Choosing a panel? Our ranking of the best red light therapy panels is computed from published, method-labeled specs across 188 devices. For a home setup, the spec that matters is whether a stand or mount is included and the panel size it has to carry.
Start with the distance, then pick the mount
The mount decides how repeatable your sessions are. Dose depends on irradiance and time, and irradiance changes quickly with distance, so a panel that sits at a different spot every day delivers a different dose every day. Our guide on what distance to sit from a panel explains why most panels are built for roughly 6 to 24 inches, and the dose calculator turns a distance and session length into a dose. Pick the distance first, then choose hardware that holds it.
A practical sequence:
- Decide whether you will mainly treat a small area (a knee, a face) or most of the body.
- Choose a distance that suits that goal from the distance guide.
- Pick a mount style that makes that distance easy to repeat.
- Mark the spot where you stand or sit.
What the database shows about mounts
The database has a stand field on each model page. Here is what a sample of pages show. Prices are quoted with the verification date each page displays.
| Model | Stand field | Mount notes on the page | Panel size | Price (verified) |
|---|---|---|---|---|
| RLT Home Total Spectrum MINI | Included | Mounts in vertical orientation only | 11.8 x 11.4 in | $595 (2026-09-12) |
| RLT Home Total Spectrum MAX | Included | Mounts in vertical orientation only | 49.2 x 11.8 in | $1,795 (2026-09-12) |
| Hooga HG300 | Foldable tabletop stand listed | Full-body floor stand sold separately | 12.2 x 8.2 x 2.5 in | $199 (2026-09-12) |
| BlockBlueLight PowerPanel MEGA | No | Hardware not stated on the page | 920 x 300 x 65 mm | $1,500 (2026-09-12) |
| PlatinumLED BioMax 600 (classic 9th gen) | No | Page notes a stand costs extra | 36 x 9 x 3 in | $1,049 (2026-08-13) |
| Joovv Solo 3.0 | No stand included | Door and wall mount kits and floor stands sold separately | 36 x 8.75 x 2.34 in | $1,699 (2026-08-13) |
| Infraredi Pro Max 2.0 | Not listed | Door hook is the default mount on most panels; stands sold separately | 90.8 x 22 cm | $1,199 (2026-08-13) |
If the corner is in a garage or home gym, the home gym panel ranking compares five models on mounting, coverage and buyer terms. Two things stand out. First, "no stand included" is common on the larger panels in this sample, so a stand is often a separate line item that changes the real cost. Second, some pages say nothing about hanging hardware at all, which means you should confirm it with the brand rather than assume a door hook is in the box. Panels listed with a stand can also limit orientation: the two RLT Home pages above note vertical mounting only, which matters if you plan to lie under a panel. For a wider view of full-length options, see our full-body panel ranking.
Choosing between mount styles
Floor stand. The easiest way to hold a fixed distance, because the base position is the mark. It needs floor space, and an add-on stand is an extra cost on several models in the table.
Tabletop stand. Suits a small panel used on a desk or counter for a face or a single joint. Distance is set by the chair and desk, so it is easy to repeat.
Door hook or wall mount. Takes no floor space. The trade-off is that you must stand or sit at a marked spot every time, because the panel itself never moves.
Hanging cables. Allow height adjustment, but any adjustable setup needs a mark so the height is the same each session.
Mark the spot
Once the panel is mounted, measure from the face of the panel to where your skin will be and write that number down. Then:
- Put a strip of tape on the floor at the toe line, or a mark on the chair leg.
- Note the panel height if the mount is adjustable.
- Record the session length from your session length guide so the dose is the same each time.
Check the measurement once with a tape rather than by eye. Small shifts change the dose more than most people expect.
Power, cable and airflow
Place the panel where the cable reaches an outlet without stretching or crossing a walkway. Keep the cable off the floor where you will be stepping. Panels can feel warm on the skin at close range; if a session feels too warm, the distance guide suggests backing off and lengthening the session. Leave the vents and back of the panel clear, following the manual for your model. For running costs, see our electricity cost guide.
Eyes and room layout
Keep your eye protection beside the panel so it is part of the routine, not an afterthought. Our eye protection guide covers the options. Check the manual for any layout limits from the brand, such as clearance around the panel.
Common setup mistakes
Buying the panel first and the mount later. Because several models list no stand, the real cost of a ready-to-use setup can be well above the sticker price. Add the stand to your budget before comparing models.
Measuring once and never again. A mount that can be nudged, a chair that gets moved, or an adjustable height that drifts will quietly change your dose. Recheck your marks every few weeks.
Picking a mount for one use and wanting another. A panel fixed to a door suits standing sessions; if you expect to lie down or treat a lower leg, look at how the model can be oriented before you commit. Our guide on how to choose a panel lists distance and mounting as one of its seven checks for this reason.
Ignoring panel size. A larger panel carries more weight and needs a sturdier mount. The size column in the table above is there so you can compare what your mount has to hold.
Skipping a trial run. Before your first real session, set up the panel, stand at your mark, and check that the cable, the mount and your eye protection all work together. Ten minutes of rearranging on day one is cheaper than discovering a problem mid-session.
A simple checklist
- Decide the distance before you buy hardware.
- Check the stand field on the model page and the cost of any add-on stand.
- Confirm hanging hardware with the brand if the page does not state it.
- Mark the distance on the floor or chair.
- Keep eye protection at hand.
- Write down distance and session length so every session matches.
For the evidence-graded picture of what the sessions themselves may do, browse our evidence hub; this guide covers setup only.